Blog · Développement web
Finsweet: Attributes, Client First, Components
Discover Finsweet on Webflow: Attributes, Client-First, and Components for cleaner, more efficient, and higher-performing projects.
Finsweet is becoming the must-have toolkit to push Webflow far beyond its native capabilities—without turning your site into a bloated mess or forcing you to become a front-end developer.
What does Finsweet actually change for a Webflow site?
Finsweet isn’t *one* tool, but a suite of extensions designed for Webflow and the modern web. The goal is simple: save time, keep your CSS and HTML code cleaner, and deliver a better experience for the end user.
In practice, Finsweet relies mainly on three core building blocks that will live in your Webflow project:
- Finsweet Attributes
- Client-First
- Finsweet Components
Finsweet Attributes is an open-source library that lets you add advanced functionality to a Webflow site—like filtering, sorting, search, or CMS sliders—by simply adding specific HTML attributes (fs-...) to the right elements in the Designer. You get powerful extensions without writing complex JavaScript.
Client-First is a CSS class system and a structural guide for Webflow. It provides a clear method for naming your classes, organizing every section of every page, documenting your styles, and keeping a project readable for any developer or marketer who works on it, even without advanced coding skills.
Finsweet Components is a library of ready-to-use JavaScript components, integrated into Webflow via an official app. You’ll find sliders, carousels, marquees, social media feeds, and other interactive elements—all visually configurable and styleable with the style panel, just like any other element.
These three tools address three different needs in a Webflow project: structure (classes and pages), functionality (attributes, scripts, logic), and the rapid creation of reusable components.
When does Finsweet have a real impact on a Webflow project?
You don’t need a massive site for Finsweet to be useful. As soon as your project goes beyond a simple one-pager, a system like Client-First and extensions like Attributes can make a long-term difference.
Finsweet is especially valuable when you have:
- A large CMS collection, with a list of articles, resources, products, or offers to filter and sort.
- Multiple pages with reused sections, repeated elements, or custom styles you want to keep consistent.
- A team collaborating on the same Webflow project, or the possibility of switching agencies or developers.
- A need for slightly advanced user interfaces, such as smarter forms or filterable front-end lists without page reloads.
The larger your site grows, the more a clear class system, well-structured components, and properly configured attributes save you time—no more hunting for the right class or fixing style bugs in a section you’ve copied ten times.
Finsweet Attributes: Advanced functionality without writing JavaScript
What Finsweet Attributes brings to a Webflow page
Finsweet Attributes is designed as a no-code extension for Webflow. You add a few specific HTML attributes to the right elements, and you unlock behaviors that Webflow doesn’t natively support—or only partially does.
A few typical examples in a project:
- Filter a list or a collection of blog posts by category, content type, color, tag, or any other CMS field.
- Add a “load more” button to progressively display collection items, rather than showing everything at once.
- Create a slider powered by a CMS collection, with dynamic elements, without writing a single line of code.
- Manage more advanced forms for users, for example with conditional fields, clearer error messages, or improved display after submission.
You stay in the Webflow Designer, manipulating divs, classes, sections, and lists as usual, but you add a layer of logic via attributes.
How Attributes works in Webflow on the HTML, classes, and script side
The workflow remains fairly simple for a Webflow developer or integrator with basic HTML and CSS knowledge.
The general idea is as follows:
- You add the Finsweet Attributes script to your Webflow project via the site or page custom code, just like any external library.
- You identify the elements that need to react: a collection list, a button, a form field, or an element wrapper.
- You add specific attributes to these elements, such as fs-cmsfilter-element="list" or fs-formsubmit-element="success-message", depending on the chosen solution.
The script then reads these attributes in the published HTML and applies the correct behavior via JavaScript. For you, the process boils down to: choosing the solution, adding the attributes, and testing on the published page.
The advantage is that you retain control over your classes, CSS styling system, and div structure. You can even combine Attributes with Client-First to keep your code clean, organized, and documented.
Examples of Attributes usage in a client project
Imagine a resource or online training site built in Webflow. You have a content collection with categories, levels, and formats (article, video, checklist). You create a CMS list on your page, configured according to Client-First, then add filter attributes to the buttons and the list. Result: the user clicks, the content updates—no page reload.
Another example: a services or client case study page. You want to display projects by industry, company size, or service type. You link a collection to a list, add the right sorting and filtering attributes, keep your design, custom styles, and color palette, and add a real layer of personalization to the user experience.
You can also enhance forms. For example, a quote request form that displays different fields based on the project type, or handles a clearer confirmation. Accessibility improves, the form is better tailored to each user, and you can connect it all to your CRM tools.
Client-First: a class system to maintain control over every page
Why a class system changes everything in Webflow
Webflow already allows you to create advanced CSS classes and styles. The problem is that a project can quickly become unreadable when multiple people are involved or when the site grows to twenty, thirty, or fifty pages.
Client-First, developed by Finsweet, addresses this issue by offering a naming and class organization system designed for the project’s lifespan. The goal is to make the code understandable for non-technical users while providing a clear framework for Webflow developers.
With Client-First, you no longer wonder, “How should I name this class?” You apply a clear logic based on the section’s structure, the element’s role, and the style’s purpose. You can easily search for a class in the Styles panel, and you immediately understand what it does—even if you weren’t the one who created it.
The role of rem and size in the Client-First system
Client-First encourages the use of rem for managing size of text and sometimes the size of other elements. This choice isn’t just a technical detail. It ties visual consistency to a simple system: changing the base size in CSS affects all elements that use this unit.
In practice, you maintain a custom yet consistent style grid. You can define a hierarchy of headings, paragraphs, and buttons with rem sizes tailored to your audience’s average, while leaving room for more personalized styles on specific elements.
For an SME or a small business, this means faster changes. When you adjust text sizes in your project, you don’t have to review each page. You modify the base class, and your entire system follows.
Integrating Client-First into an existing Webflow project
You can adopt Client-First on a project already in production. There’s no need to rename everything at once.
You can start with a single page, often the style page or a key page like “Home” or “Resources”. You structure the sections with Client-First classes, adjust the CSS styles, align lists, forms, and key interactive elements.
Gradually, you create internal documentation for your project. A “style guide” page centralizes important classes, the color palette, and components used throughout. You know which layout classes to apply to a new section and which text classes to use to maintain a consistent design.
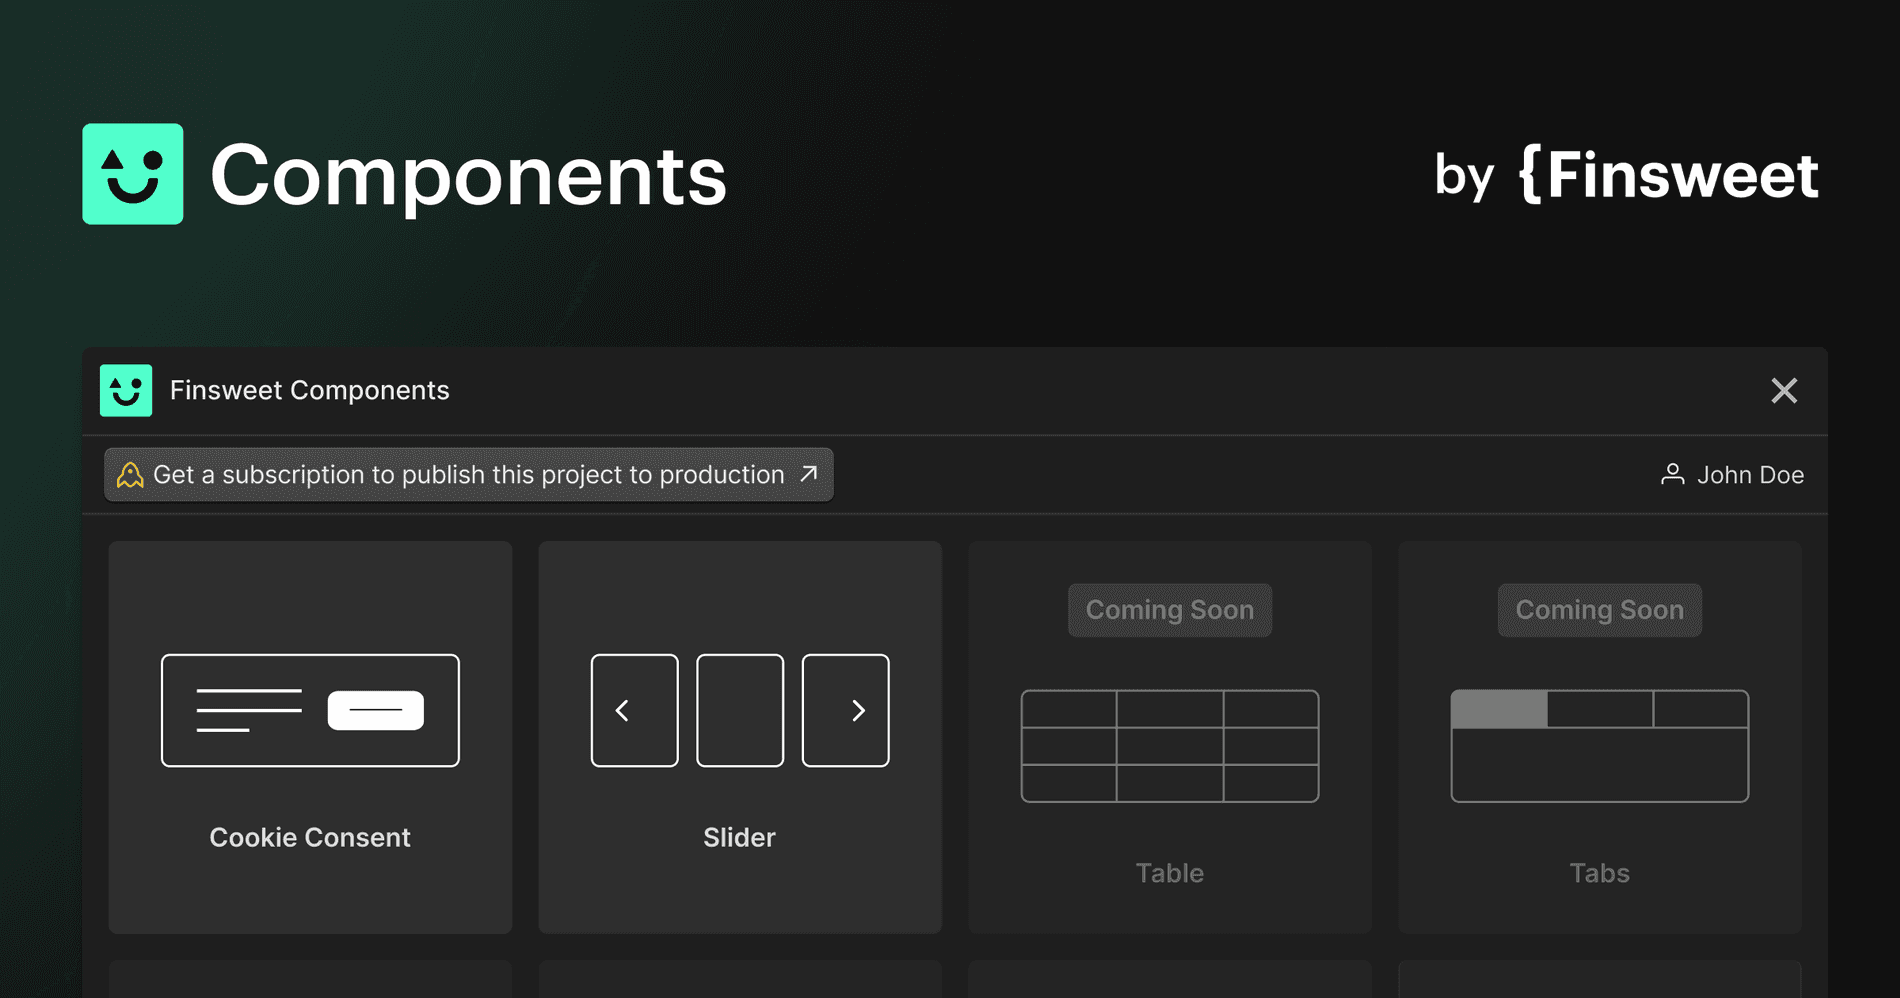
Finsweet Components: ready-to-use interactive elements
What Finsweet Components adds to Webflow
Finsweet Components is an official app available in the Webflow ecosystem. It lets you build complex JavaScript components directly in the visual interface, without having to manage the code or scripts in detail.
The Components library offers sliders, carousels, marquees, Instagram or YouTube feeds, and dynamic sections powered by CMS collections. You pick a component from the library, generate it, then style it using Webflow’s Styles panel like any other div.
The integration is designed to stay “native”: you keep your classes, your style system, your colors, and your custom design. The scripts and JavaScript logic remain managed by Finsweet.
How to integrate Components into your creation process
In a Webflow project structured with Client-First, Finsweet Components becomes an additional productivity layer. You start by defining the page structure, sections, classes, and CSS style system. Then, you add Components where advanced interaction is needed.
You can combine Components with Finsweet Attributes to go even further. For example, a filterable collection list displayed within a slider component. Or an interactive component enhanced with attributes for search, sorting, or customization.
The key is to maintain control over the overall system. The component should not be a “black box.” You need to understand its purpose, the main classes, and the key elements to adapt it to your project’s needs.
When things get complicated with Finsweet: what to keep in mind
Finsweet doesn’t solve everything. If the foundation of your Webflow project is shaky, Finsweet can even make things more confusing.
Difficulties often arise when:
- You mix multiple class logics. For example, part of the site uses Client-First, another part has improvised classes, and yet another uses template classes. The CSS system becomes confusing, and internal documentation can’t keep up.
- You’re adding Finsweet attributes everywhere without a clear plan. Eventually, you no longer know why a certain list has a specific attribute, or what happens if you duplicate the section on another page.
- You’re stacking Components with external scripts, custom embeds, and complex animations without checking the impact on performance and accessibility.
Another sensitive area is accessibility. Finsweet also offers resources focused on “accessible components,” reminding us that the goal is to make the web usable for everyone, with best practices for forms, modals, and keyboard interactions.
Even with Components and Attributes, you need to keep this dimension in mind. A slider that moves too fast, a complicated form, or low-contrast text, and you lose part of your audience.
The key remains the same: start with the business objective and the user. What should the person do on this page? What’s the simplest path for them? Finsweet tools are there to serve this path, not to “add effects” just because it’s possible.
Finsweet and your Webflow projects: how to move from tool to strategy
Finsweet, with Attributes, Client-First, and Components, isn’t just a set of technical extensions for Webflow. It’s a complete system that affects page structure, CSS code, how you create lists and collections, and the quality of the user experience.
Used methodically, Finsweet allows you to:
- Save time on page creation and interactive elements.
- Keep a project readable over time, even if multiple Webflow developers are involved.
- Document your project and speed up onboarding for new team members.
But as always on the web, the difference lies in how you design the system. Finsweet doesn’t replace a digital strategy, positioning, good content, or thoughtful page structure and section objectives.
If you want to go further and implement Finsweet seriously in your Webflow project, this is exactly the kind of topic where the Scroll agency can support you. We can audit your existing project, clarify the class system, structure collections, define the right Components and Attributes to use, and then build a site that remains high-performing and scalable, without getting lost in the technical details.